
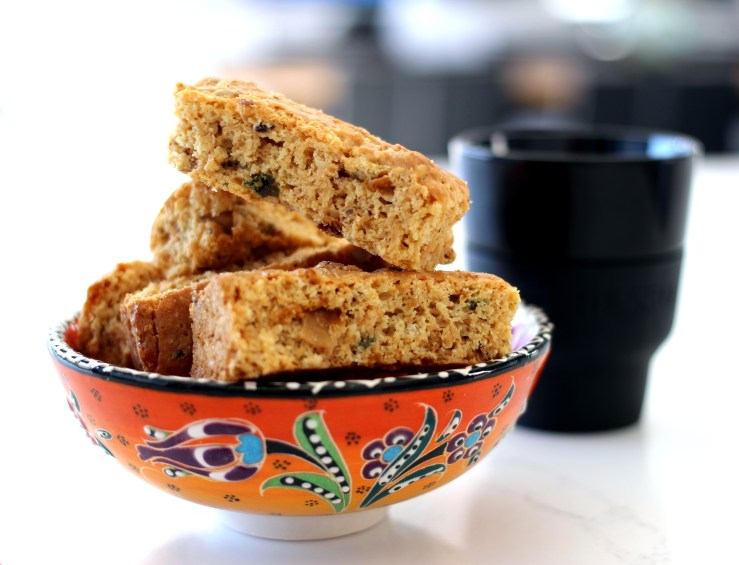
In South Africa, the rusk or ‘beskuit’ is an essential snack in our pantries. Rusks are made from dough cut or broken into pieces after baking, and then slowly oven dried.
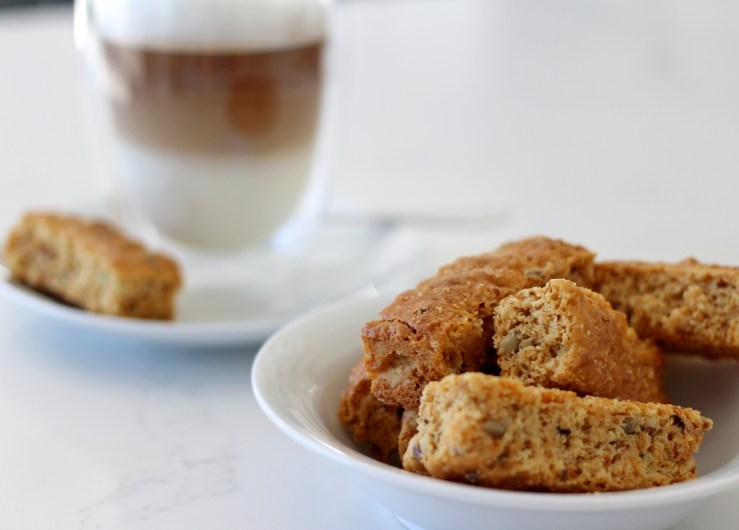
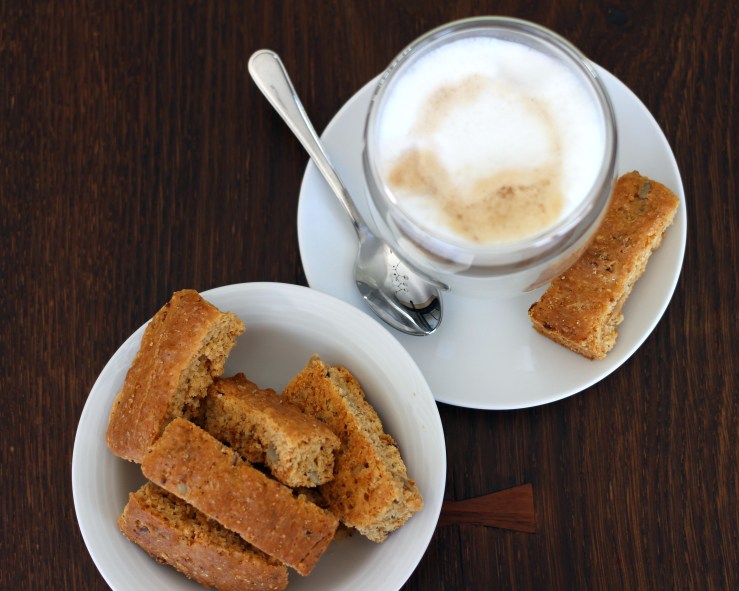
The normal way to eat a rusk is to dip it in your tea or coffee. Don’t leave it in there for too long because it gets soggy very quick! Lift and take a tasty bite.
Although quality rusks are available from all South African supermarkets, many families still prefer their own home made recipes. When someone in the family needs to eat gluten free, there’s an additional incentive for the DIY approach as there are no great options in store.
After years of experimenting to derive GF versions from regular recipes by replacing wheat flour with gluten free flour, I gave up – normally you cannot get these rusks to soak, and they tend to taste like cardboard and/or break teeth. This is much like the versions available in many stores!
So I developed my own recipe, which my husband says is light-years ahead of any GF options he has tried over the years. It seems to have become a family favourite and I no longer bake any other rusks. Yes, I prefer these GF rusks over normal rusks!
These rusks have a shelf life of up to 4 weeks… if any were to survive that long!
Liesl’s Gluten Free Rusks
Ingredients
- 1 kg gluten-free flour blend
- 15 ml xanthan gum (omit if your flour already contains it)
- 7.5 ml salt
- 35 ml baking powder
- 500 g Stork baking margarine
- 250 g Carb clever coconut and vanilla granola (Woolworths)
- 3 large eggs
- 380 g tin Ideal milk
- 250 ml fresh cream
- 2.5 cups sugar
Directions

The pans I use 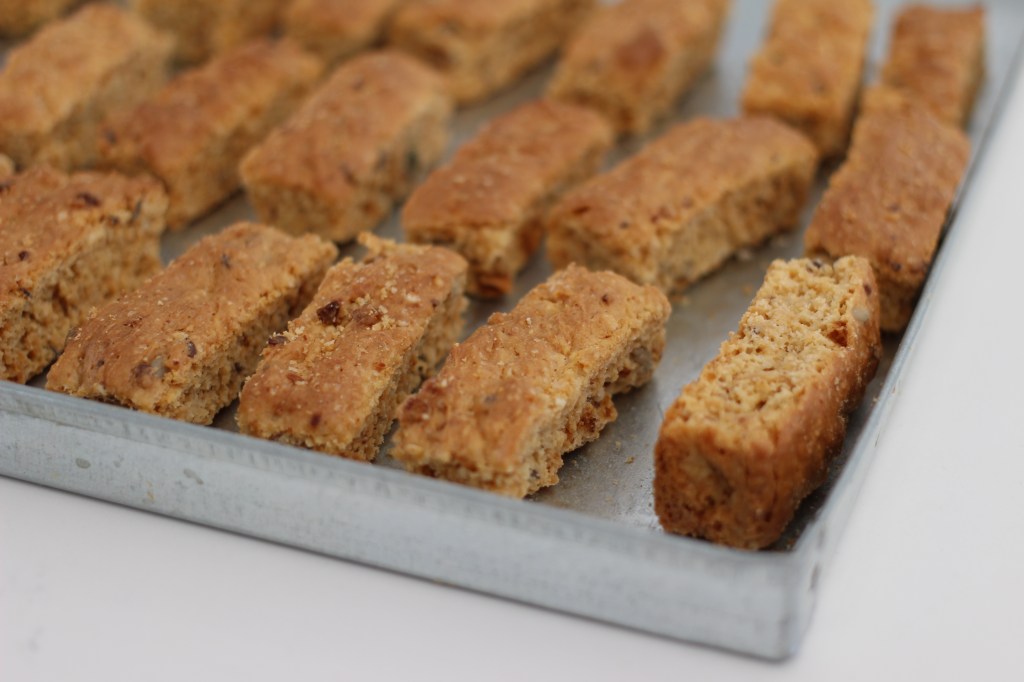
Separate for drying
- Preheat oven to 180 degrees Celsius
- Spray flat rusk pans with cooking spray. I use two pans (37 cm x 33 cm each) but you can use one – whatever size fits your oven. Loaf pans can also be used, just cut the baked loaf into slices and then into rusks before drying.
- Sift flour, salt & baking powder together
- Rub butter into flour until it resembles the look of bread crumbs
- Transfer this mixture to a large bowl
- Combine granola with breadcrumb mixture
- Beat eggs, then add the Ideal milk and cream to it; lastly the sugar and stir
- Add wet- to dry ingredients and mix with a big spoon until it is consistent and no dry patches remain
- Transfer the wet dough into baking pans
- Bake for 25 minutes or until a tester knife comes out clean
- Remove pans from oven and then switch it off
- For economical and efficient drying, cut the ‘flat cake’ into rusks of roughly 2,5 cm wide x 10 cm long, leaving it in the warm pans and then put it back into the oven until the oven has cooled down completely. This will take a few hours.
- Now your rusks are about halfway dry
- Remove the pans again, and separate the rusks by placing them on a baking sheet
- Complete the drying process at 100 ºC for about an hour. Make sure to check the rusks every half hour. They must be completely dry to have a crunch but do not over dry because then they will be too hard.
- Once the rusks have cooled to room temperature, you are done and can store them in an airtight container
Have you got any thoughts on this recipe? Please share them below!

what is your gluten free flour blend???
LikeLike
In the UK I use Schar gluten free all purpose baking mix. In South Africa I used Woolworths All purpose gluten free flour.
LikeLike